
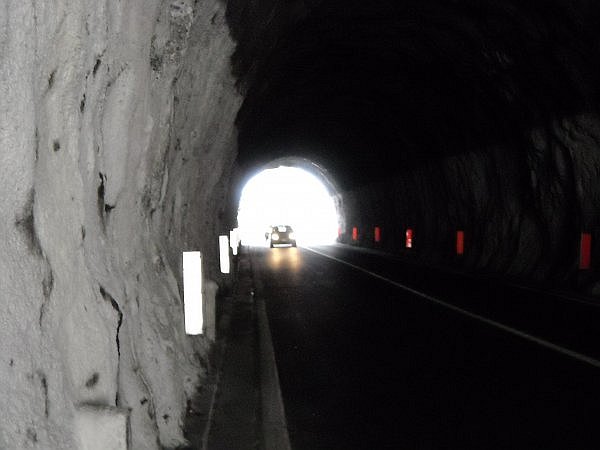
Tunnel
Photo 1 of 9
© gb for trekking-etc.it
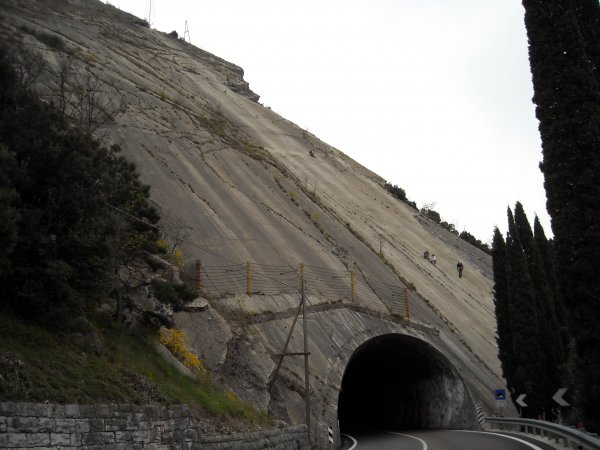
Wall
seen from the road
Photo 2 of 9
© gb for trekking-etc.it

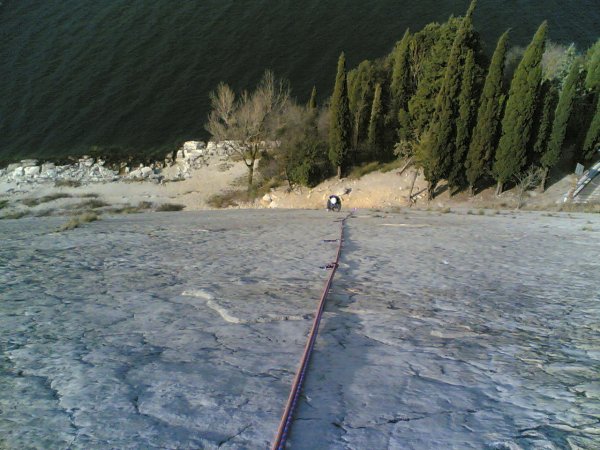
Wall base
Photo 3 of 9
© gb for trekking-etc.it
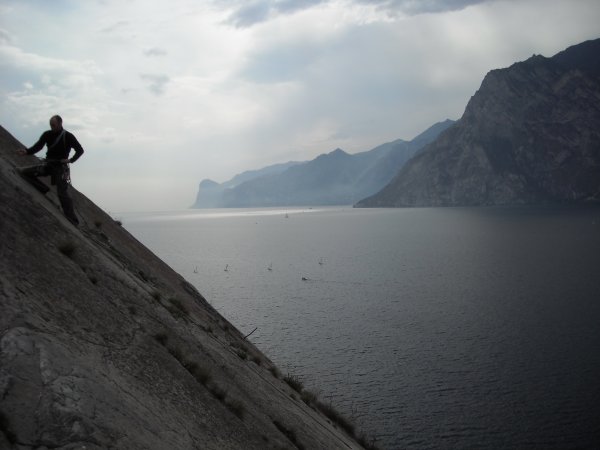
Wall
seen from the first belay
Photo 4 of 9
© gb for trekking-etc.it
View
from the second belay
Photo 5 of 9
© gb for trekking-etc.it
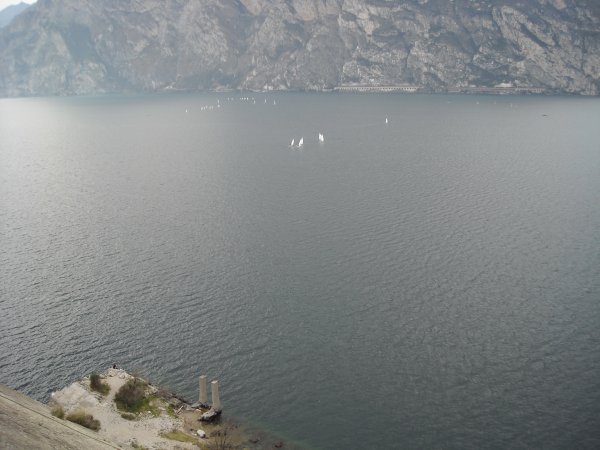
View
on the lake
Photo 6 of 9
© gb for trekking-etc.it
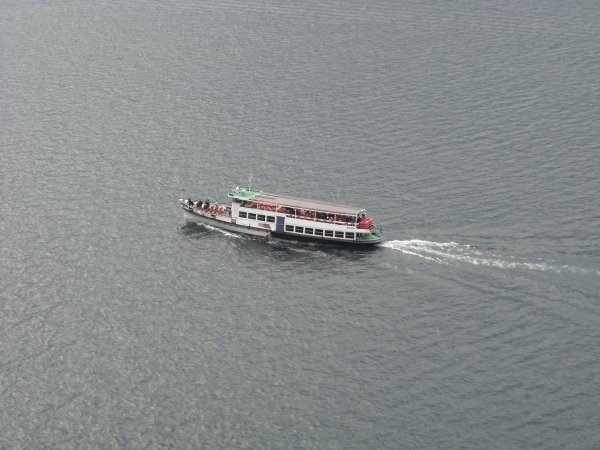
Ferryboat
Photo 7 of 9
© gb for trekking-etc.it
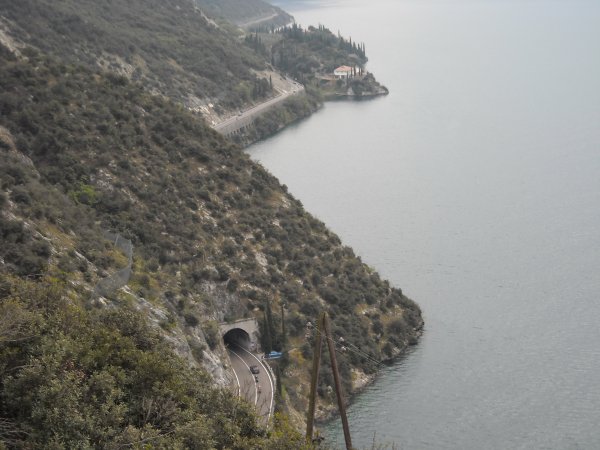
View
on Gardesana Orientale
Photo 8 of 9
© gb for trekking-etc.it
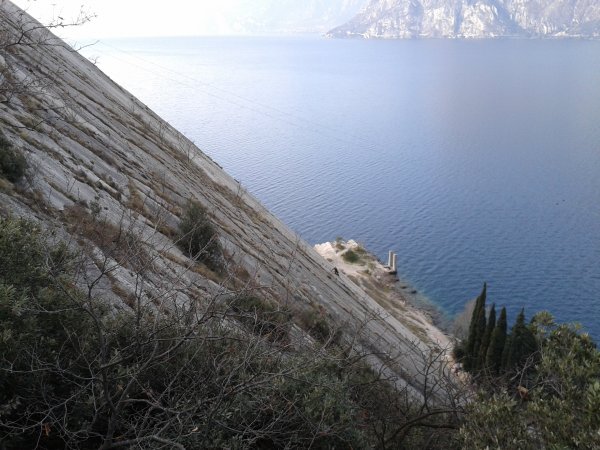
View on the wall
from the return trail
Photo 9 of 9
© gb for trekking-etc.it