
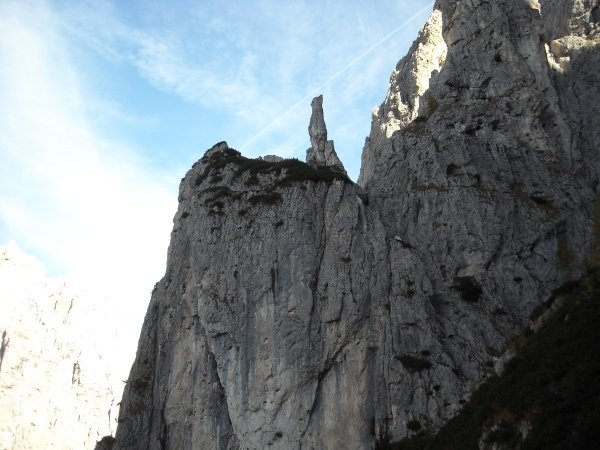
Dente del Rifugio
and its sentinel
Photo 1 of 27
© gb for trekking-etc.it
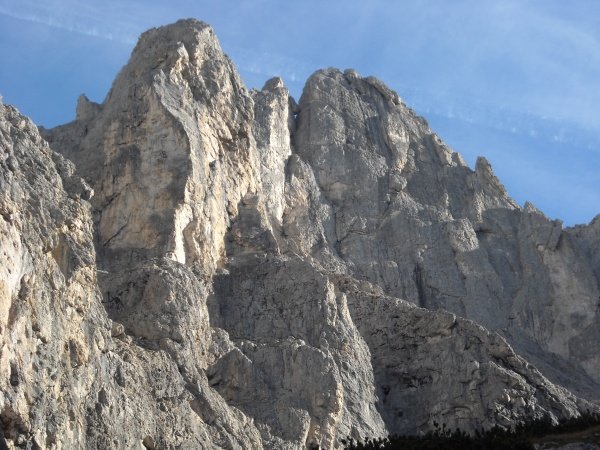
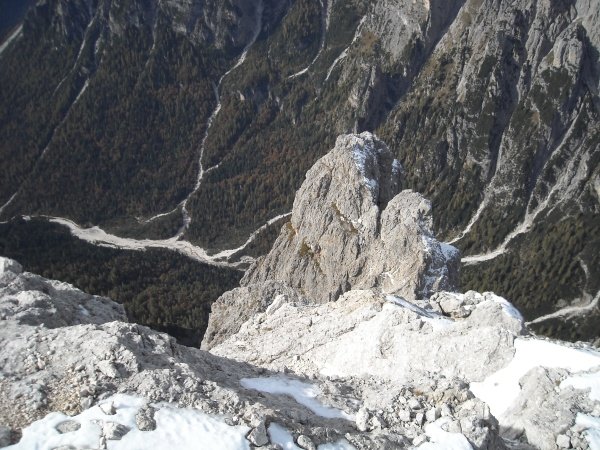
Sass d'Ortiga
with its peculiar stuck boulder
Photo 2 of 27
© gb for trekking-etc.it
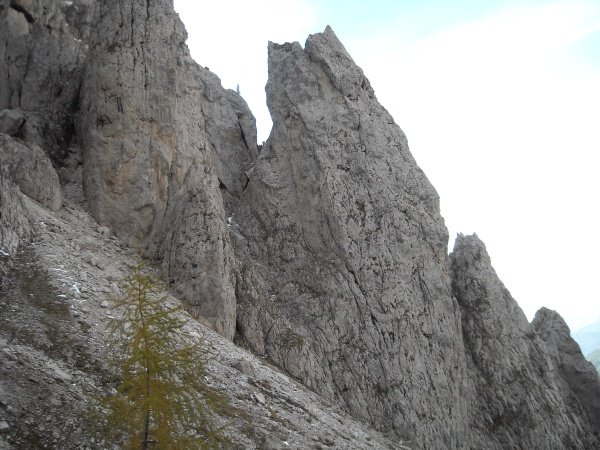
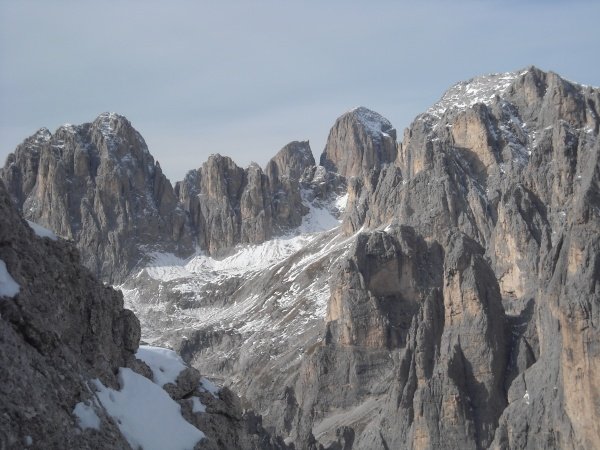
Punta della Disperazione
Photo 3 of 27
© gb for trekking-etc.it
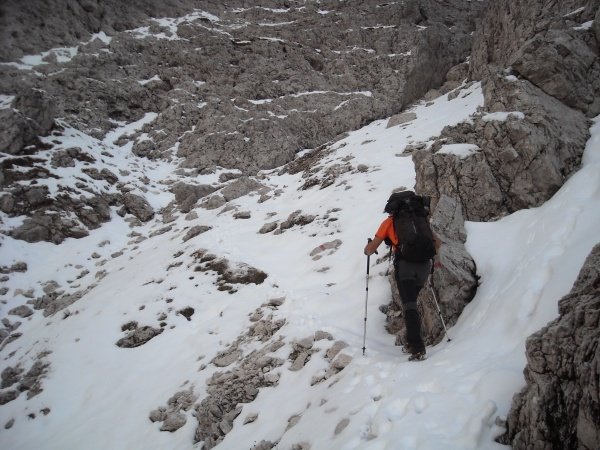
Going up
towards Forcella delle Mughe
Photo 4 of 27
© gb for trekking-etc.it
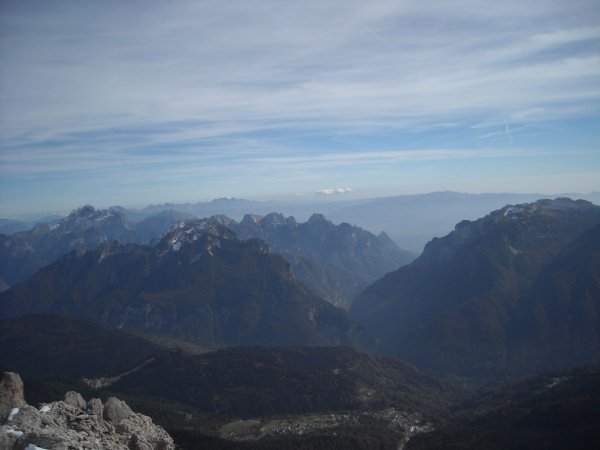
Panorama
from the Forcella delle Mughe
Photo 5 of 27
© gb for trekking-etc.it
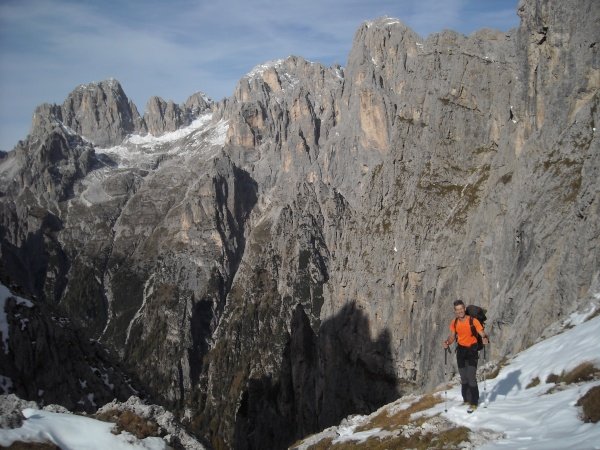
Starting point
of the Normal Route
Photo 6 of 27
© gb for trekking-etc.it
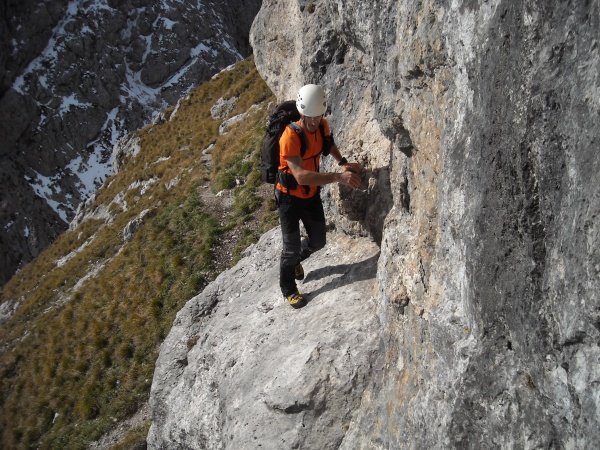
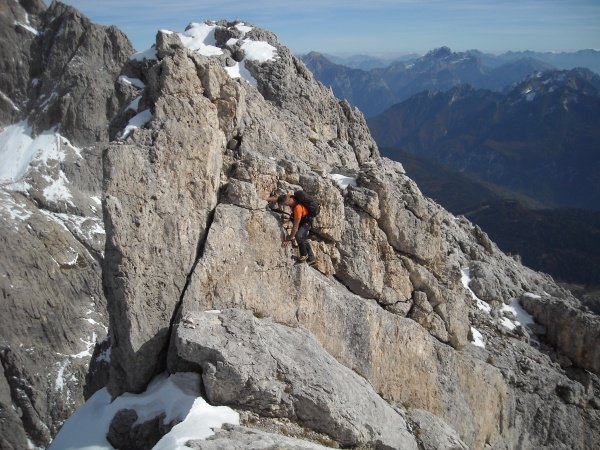
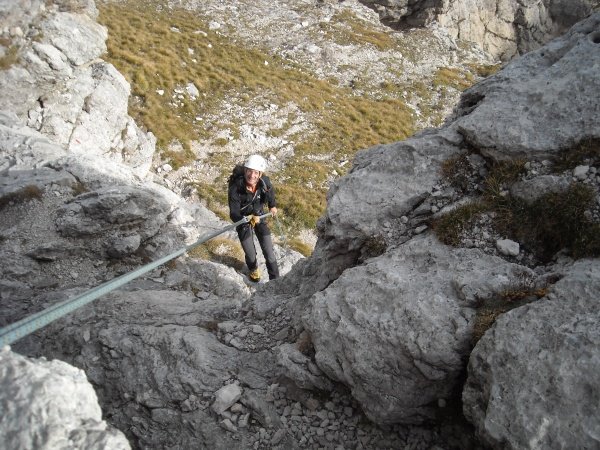
Climbing
Photo 7 of 27
© gb for trekking-etc.it
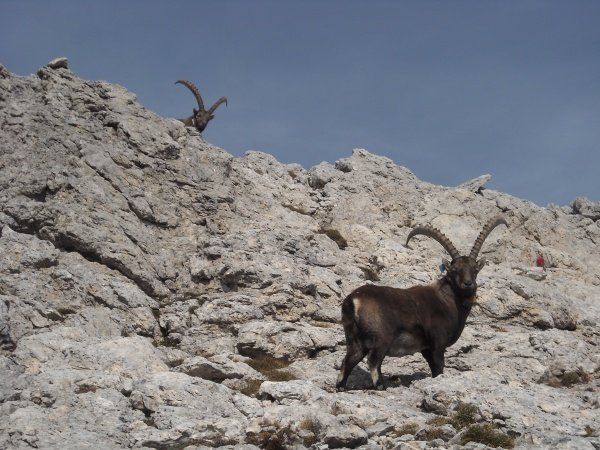
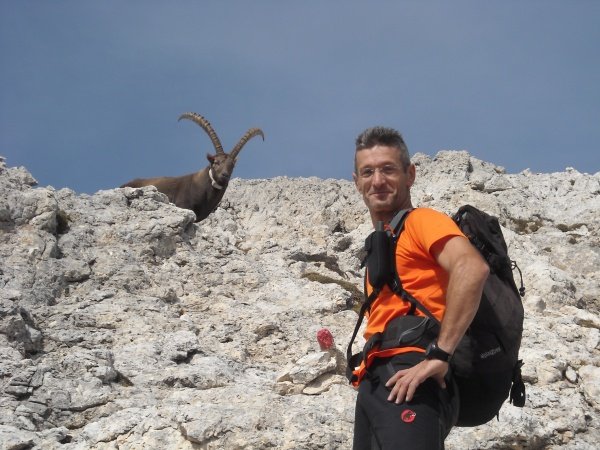
Steinbocks
Photo 8 of 27
© gb for trekking-etc.it
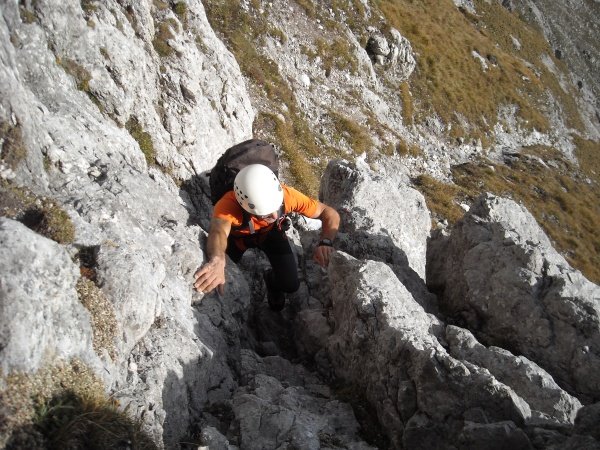
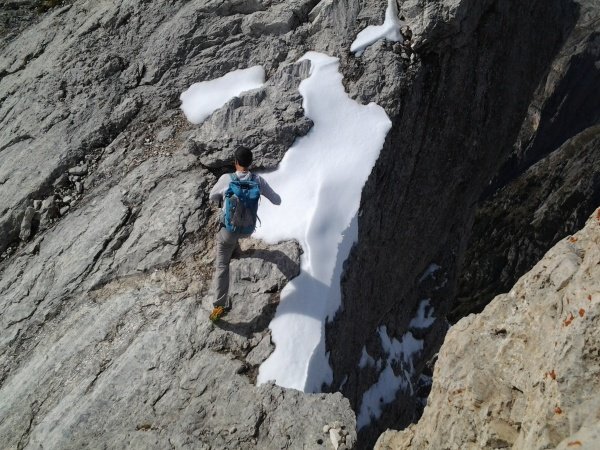
Along the Normal Route
Photo 9 of 27
© gb for trekking-etc.it
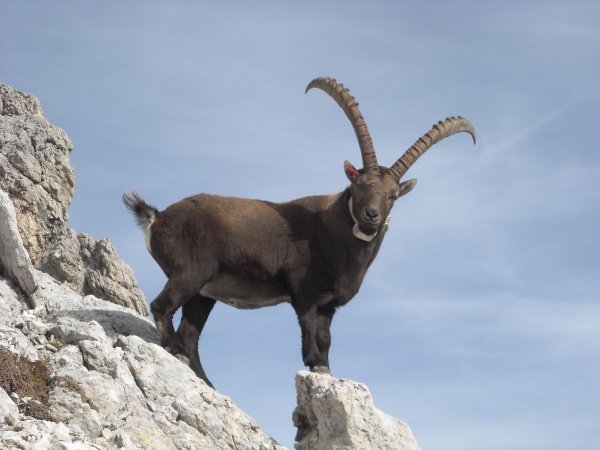
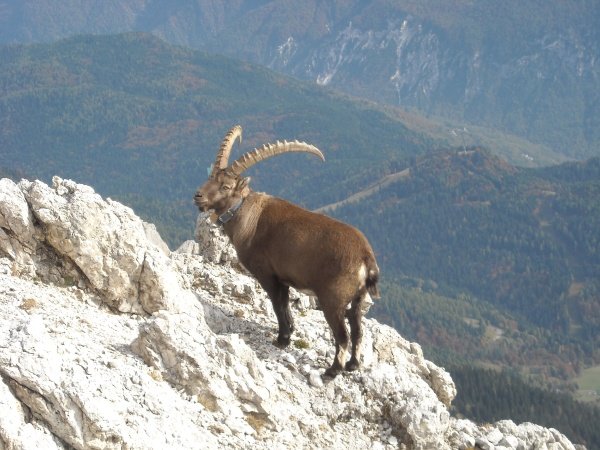
Steinbock
Photo 10 of 27
© gb for trekking-etc.it

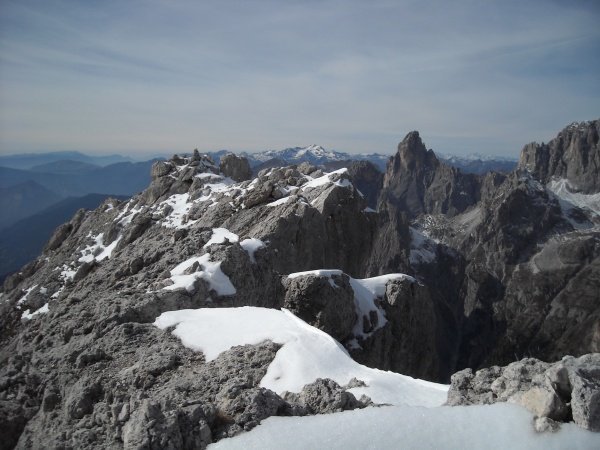
Along the Normal Route
Photo 11 of 27
© gb for trekking-etc.it
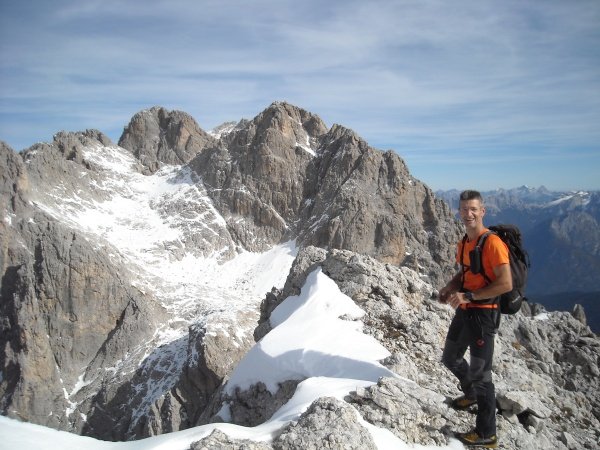
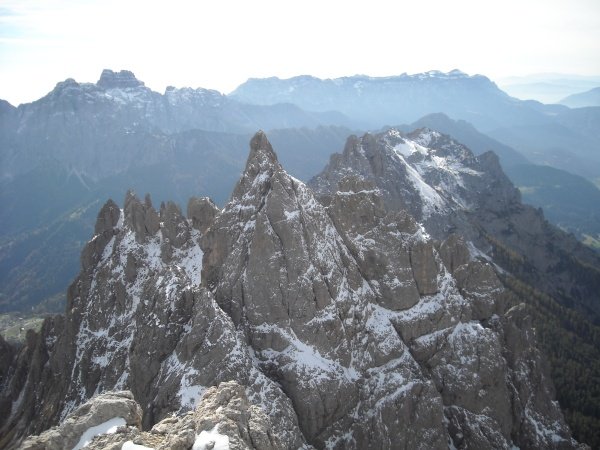
Secondary summit
with a view on the Cima dei Vani Alti
Photo 12 of 27
© gb for trekking-etc.it
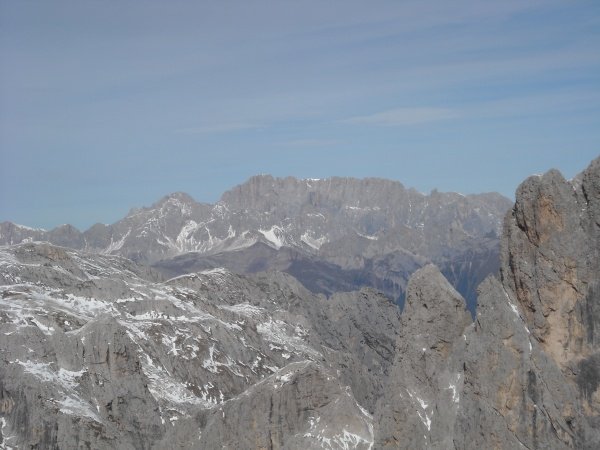
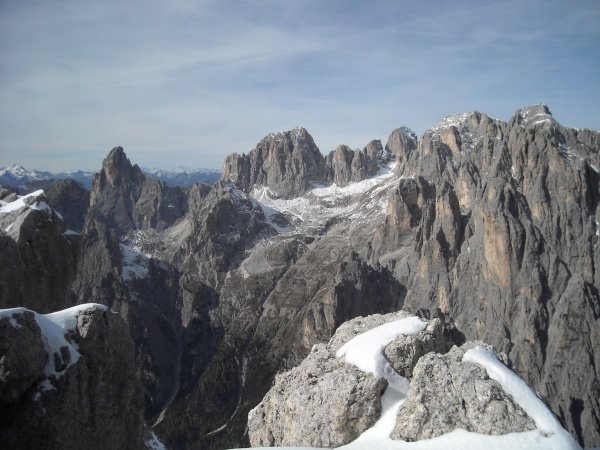
View
towards the Marmolada
Photo 13 of 27
© gb for trekking-etc.it
View
on the summit cairn
Photo 14 of 27
© gb for trekking-etc.it
Passage
between scondary summit and summit
Photo 15 of 27
© gb for trekking-etc.it
Ridge
between secondary summit and summit
Photo 16 of 27
© gb for trekking-etc.it
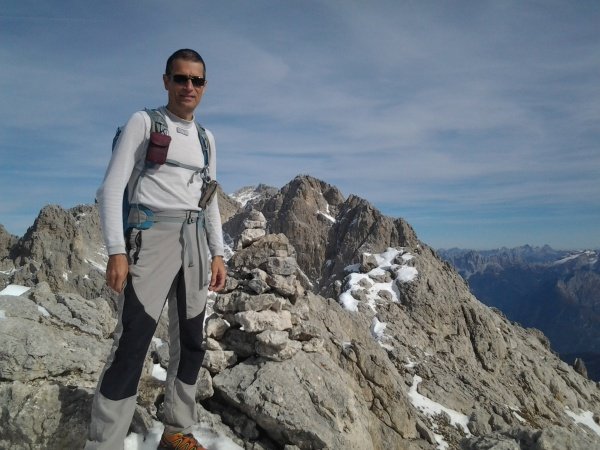
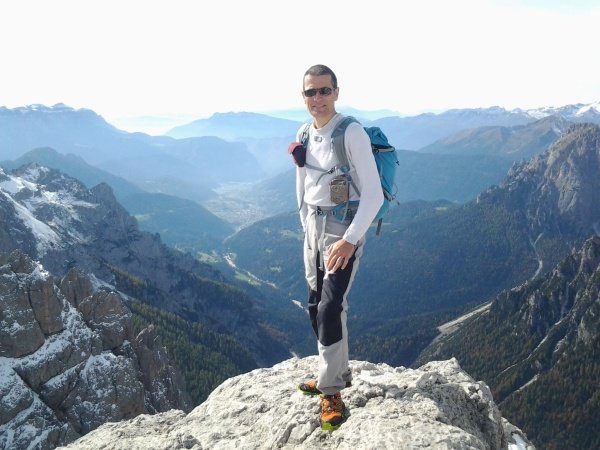
On top
Photo 17 of 27
© gb for trekking-etc.it
Panorama
towards Fiera di Primiero
Photo 18 of 27
© gb for trekking-etc.it
View
on the Sass Maor and the Vallone delle Lede
Photo 19 of 27
© gb for trekking-etc.it

Cima del Coro
Photo 20 of 27
© gb for trekking-etc.it
View
on the Val Canali
Photo 21 of 27
© gb for trekking-etc.it
Pala della Madonna
and Sass de Mura
Photo 22 of 27
© gb for trekking-etc.it
Zoom
on the Vallone delle Lede
Photo 23 of 27
© gb for trekking-etc.it
Panorama
towards east
Photo 24 of 27
© gb for trekking-etc.it
Steinbock
Photo 25 of 27
© gb for trekking-etc.it
Double rope
Photo 26 of 27
© gb for trekking-etc.it
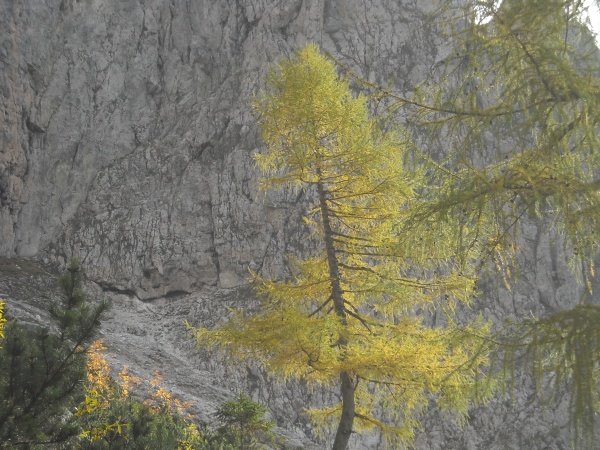
Autumn larch
Photo 27 of 27
© gb for trekking-etc.it