
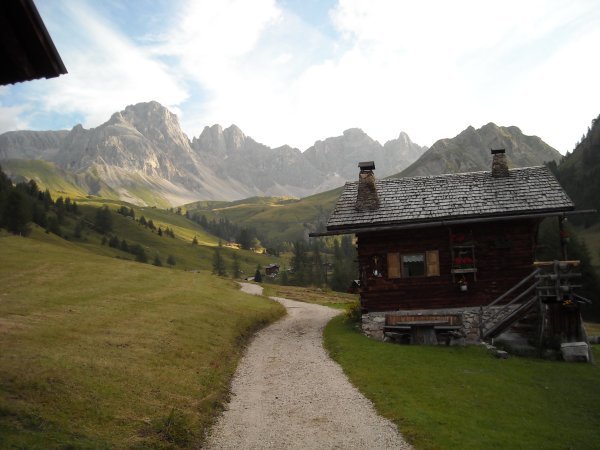
Valfredda
Photo 1 of 27
© gb for trekking-etc.it
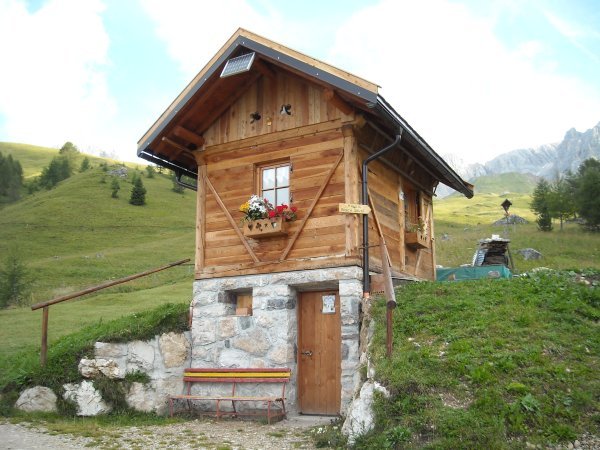
Valfredda
characteristic hut
Photo 2 of 27
© gb for trekking-etc.it
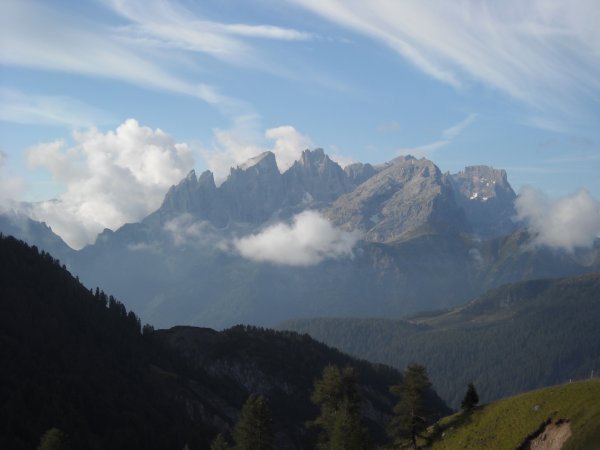
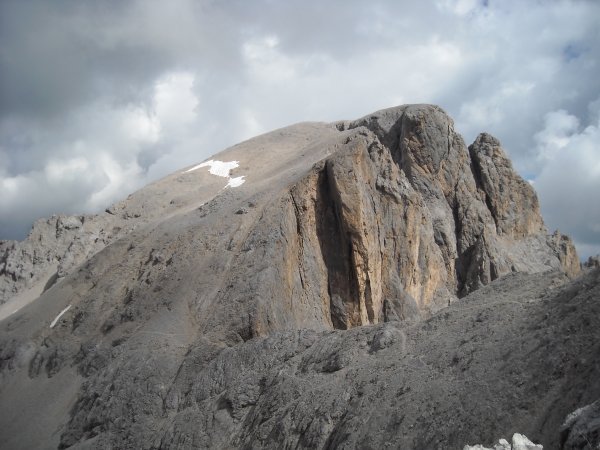
View
on the Pale di San Martino
Photo 3 of 27
© gb for trekking-etc.it
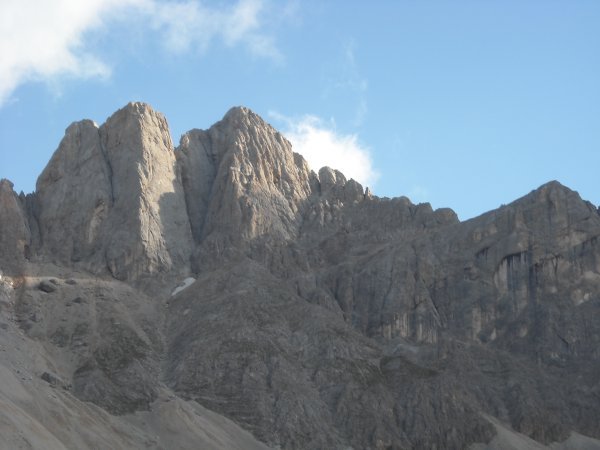
Valfredda
Sasso di Valfredda and Punta del Formenton
Photo 4 of 27
© gb for trekking-etc.it
Torre del Formenton
and Punta del Formenton
Photo 5 of 27
© gb for trekking-etc.it
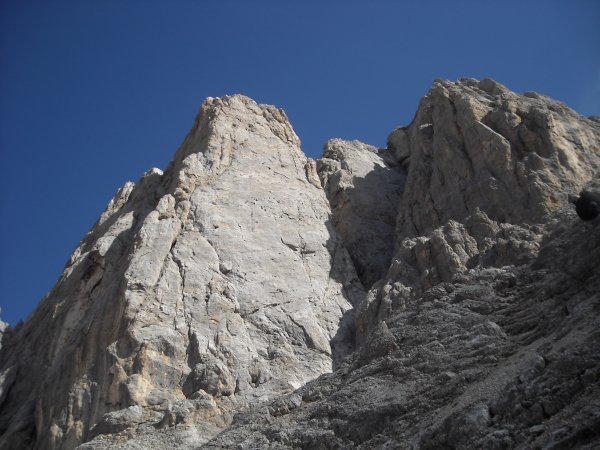
Torre del Formenton
Photo 6 of 27
© gb for trekking-etc.it
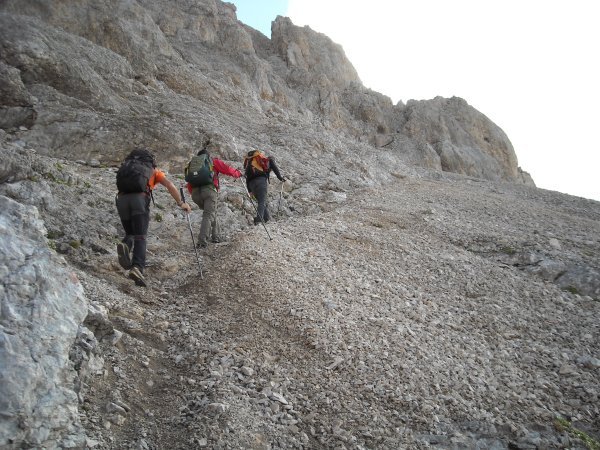
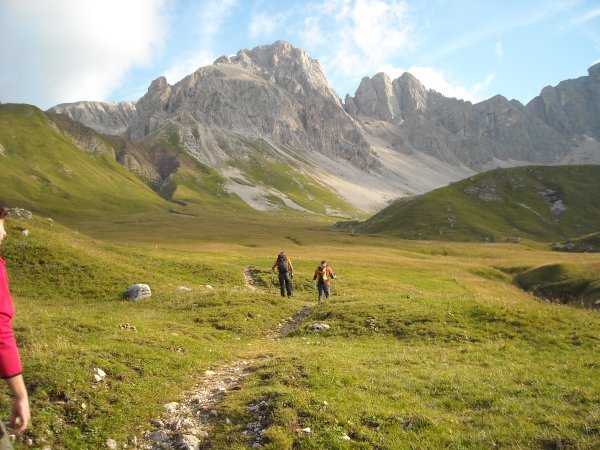
Climbing up
towards the Forcella della Banca di Valfredda
Photo 7 of 27
© gb for trekking-etc.it
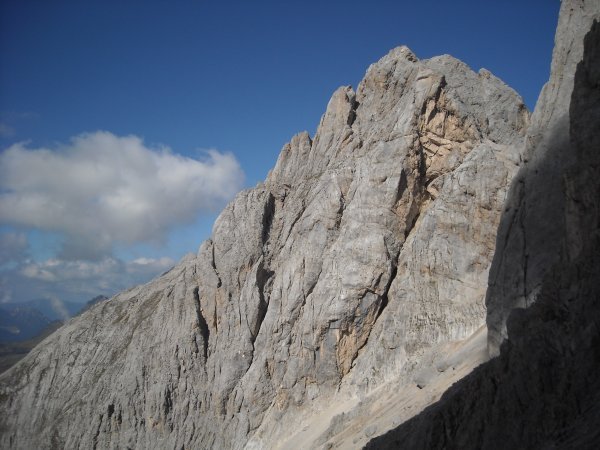
Sasso di Valfredda
Photo 8 of 27
© gb for trekking-etc.it
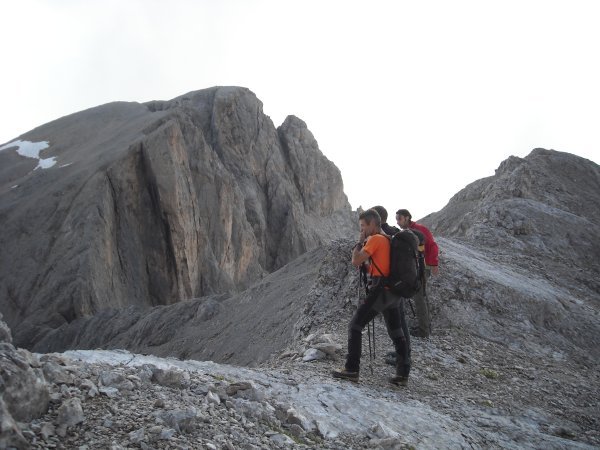
Forcella della Banca di Valfredda
and Monte La Banca
Photo 9 of 27
© gb for trekking-etc.it
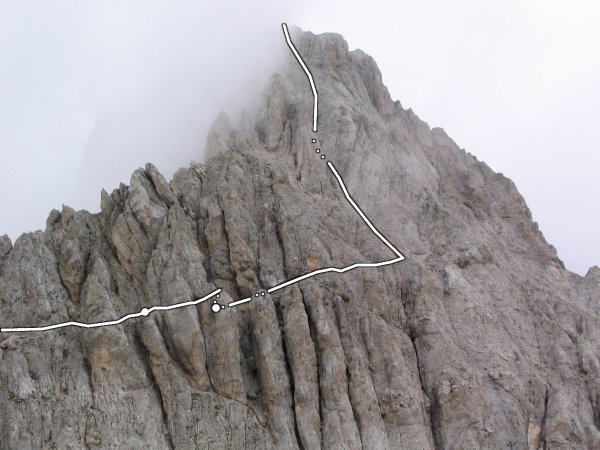
Schema
Photo 10 of 27
© gb for trekking-etc.it
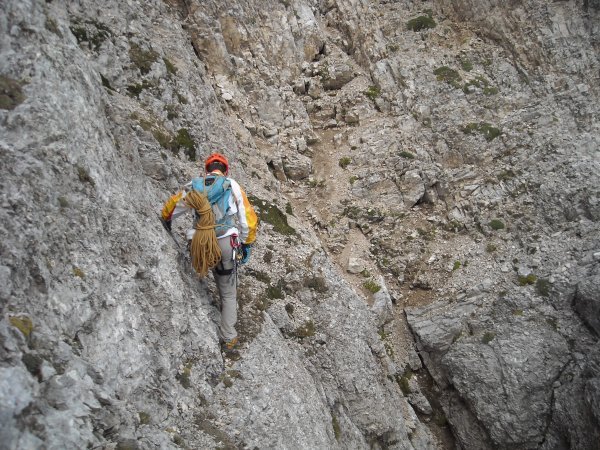
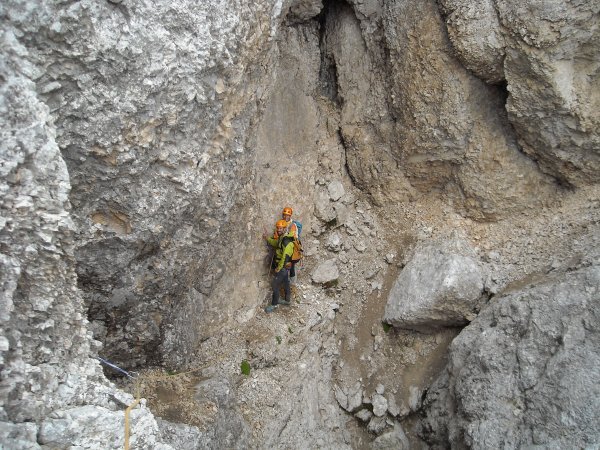
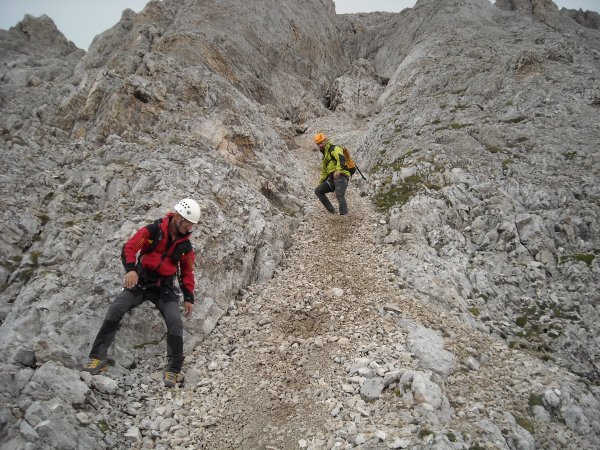
Along the ledge
Photo 11 of 27
© gb for trekking-etc.it
Along the ledge
Photo 12 of 27
© gb for trekking-etc.it
Stopping point
Photo 13 of 27
© gb for trekking-etc.it
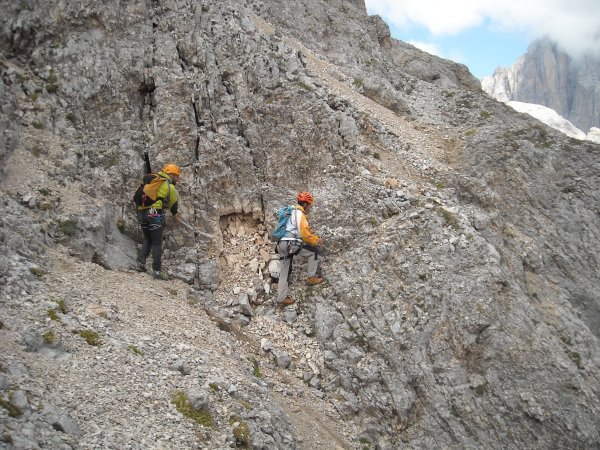
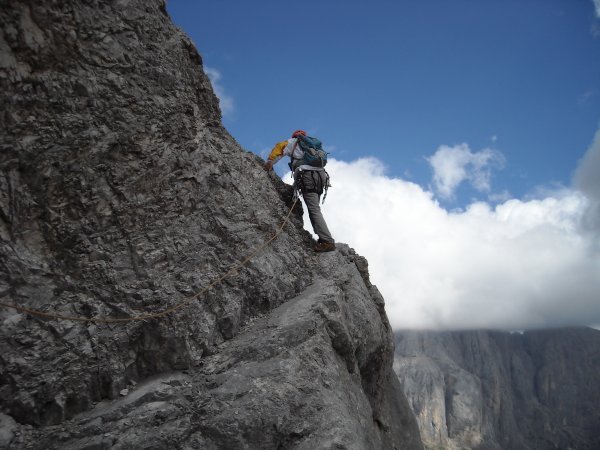
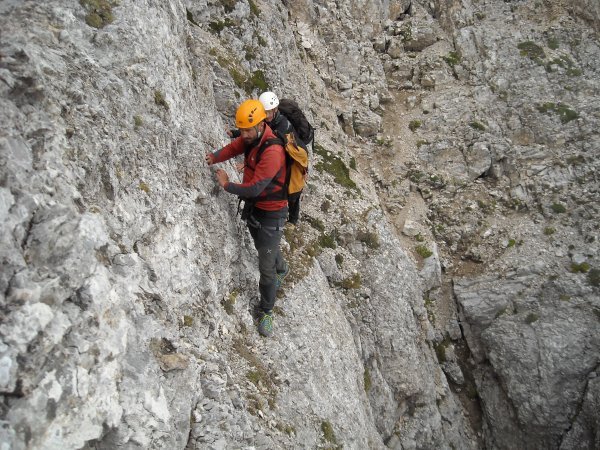
Along the ledge
Photo 14 of 27
© gb for trekking-etc.it
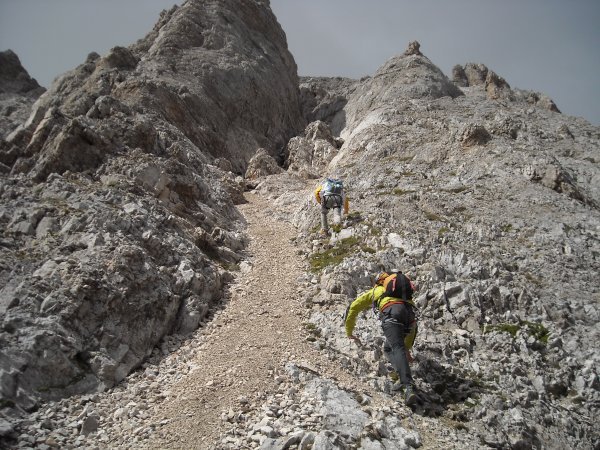
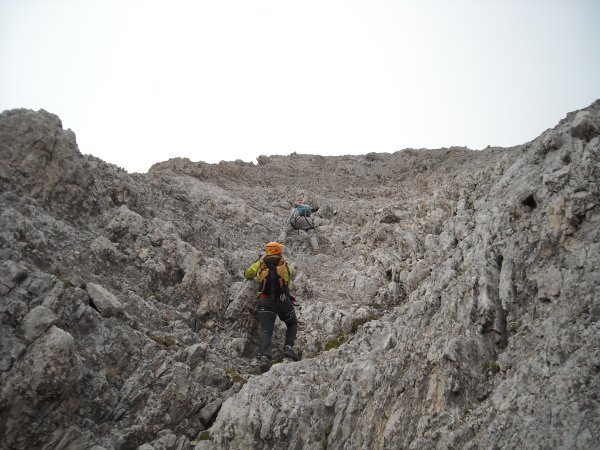
Climbing up
Photo 15 of 27
© gb for trekking-etc.it
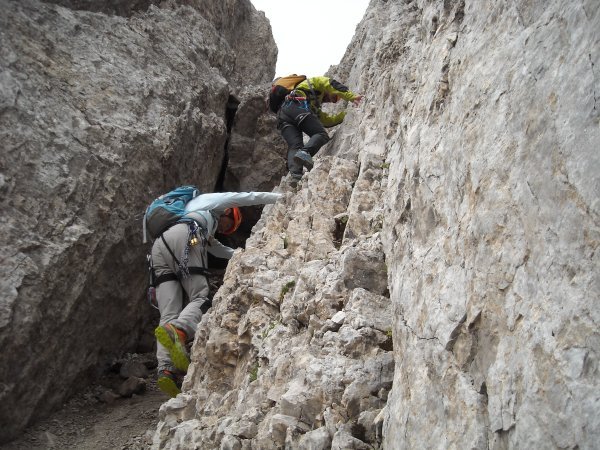
Climbing up
Photo 16 of 27
© gb for trekking-etc.it
Climbing up
Photo 17 of 27
© gb for trekking-etc.it

Arrival
at the summit
Photo 18 of 27
© gb for trekking-etc.it
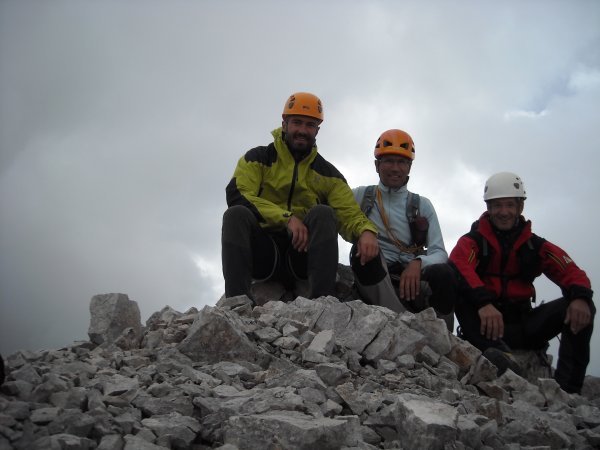
Summit photo
Photo 19 of 27
© gb for trekking-etc.it
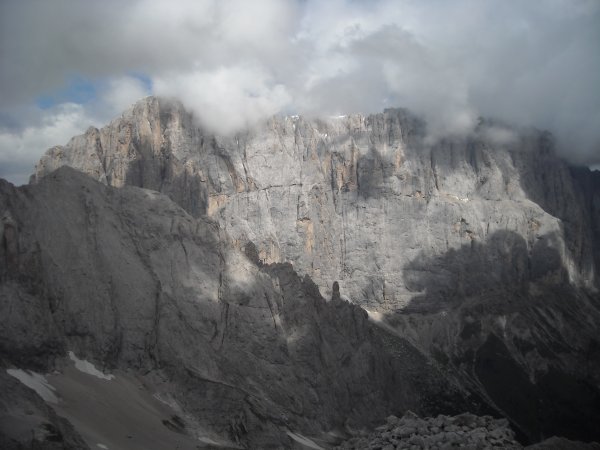
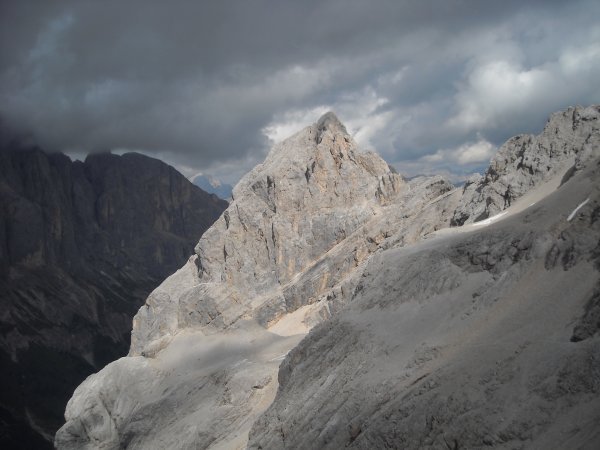
Marmolada
Photo 20 of 27
© gb for trekking-etc.it
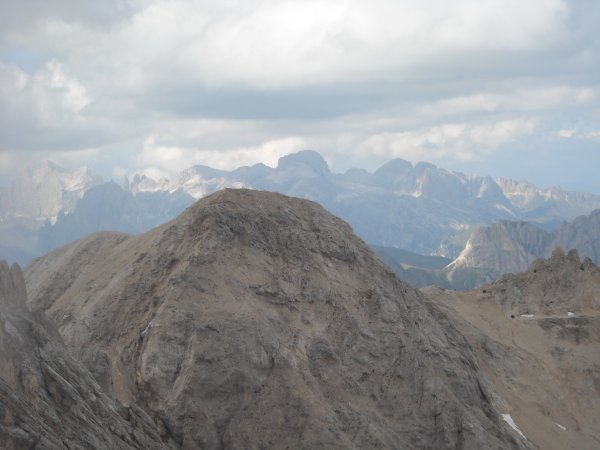
Cima Ombrettola
and Catinaccio / Rosengarten
Photo 21 of 27
© gb for trekking-etc.it

Panorama
on Valfredda and Fuciade
Photo 22 of 27
© gb for trekking-etc.it
Descent
Photo 23 of 27
© gb for trekking-etc.it

Returning
along the ledge
Photo 24 of 27
© gb for trekking-etc.it
Returning
along the ledge
Photo 25 of 27
© gb for trekking-etc.it
Monte La Banca
Photo 26 of 27
© gb for trekking-etc.it
Monte Fop
Photo 27 of 27
© gb for trekking-etc.it