
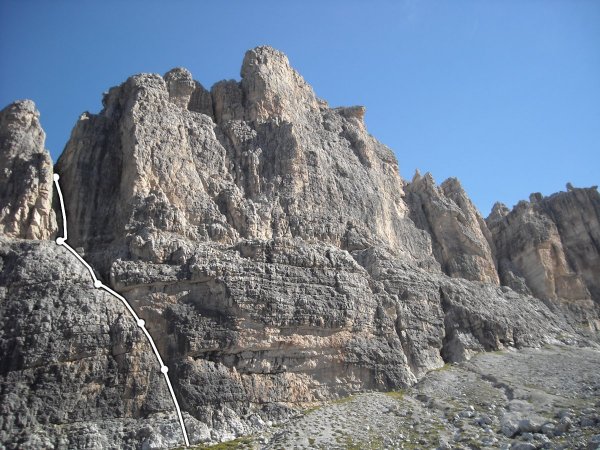
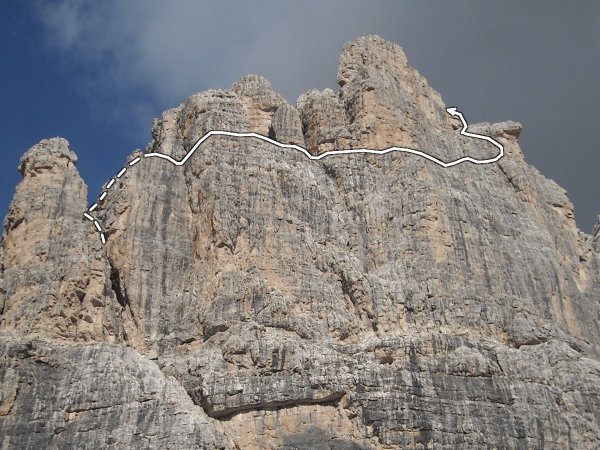
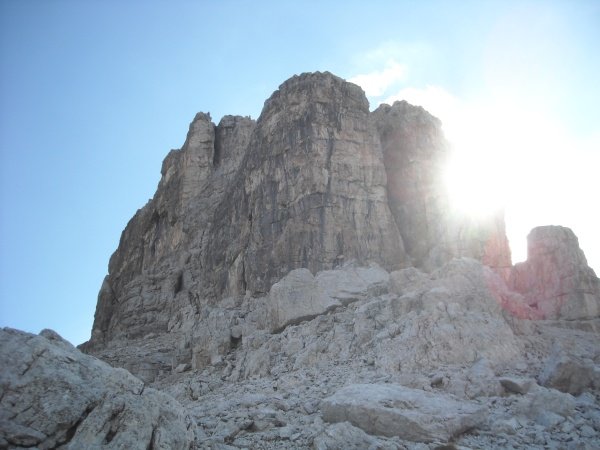
Schema
first part
Photo 1 of 20
© gb for trekking-etc.it
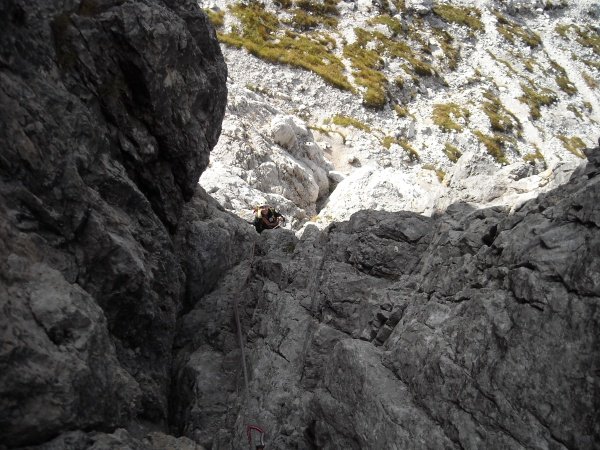
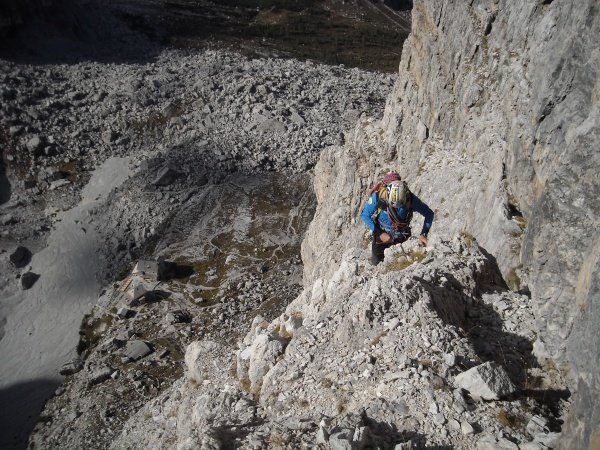
First length
Photo 2 of 20
© gb for trekking-etc.it
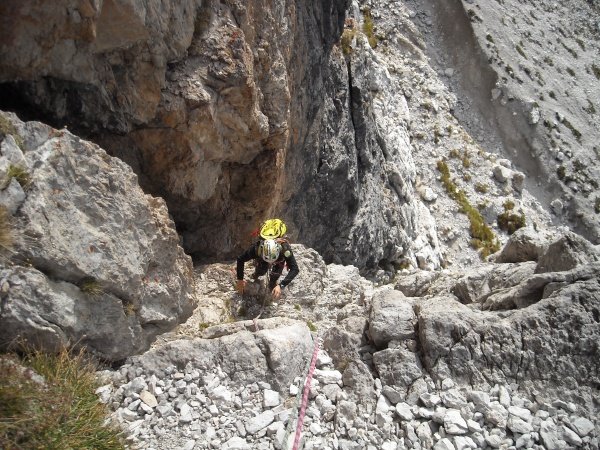
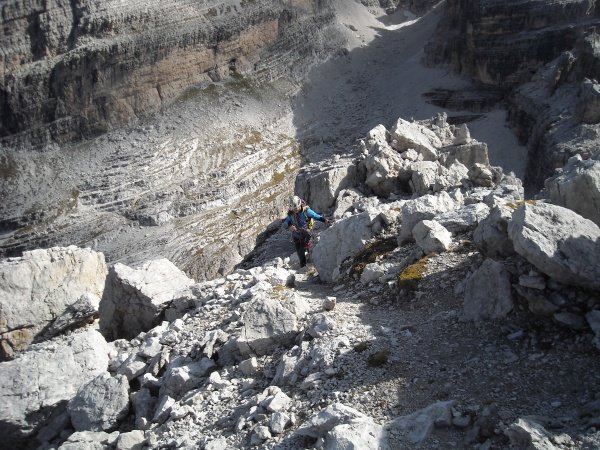
Second length
Photo 3 of 20
© gb for trekking-etc.it

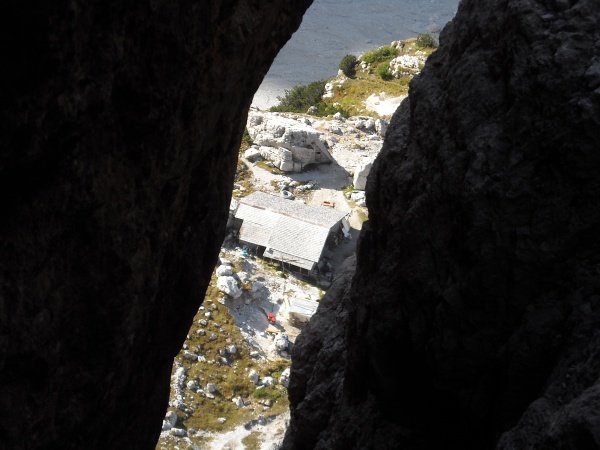
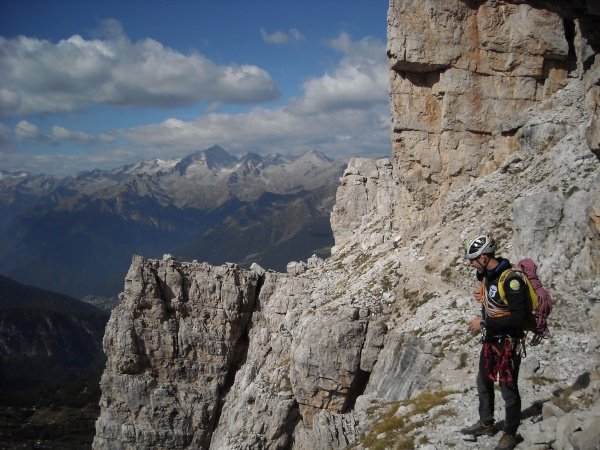
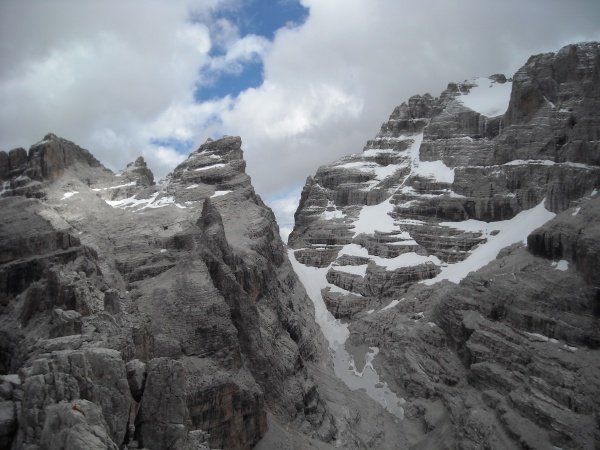
View
on Refuge Tuckett and Carè Alto
Photo 4 of 20
© gb for trekking-etc.it
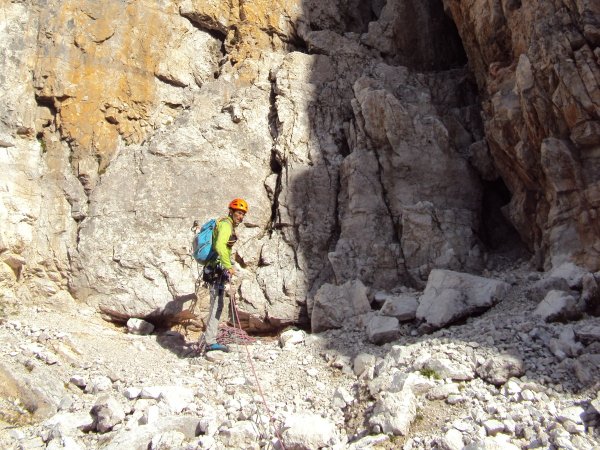
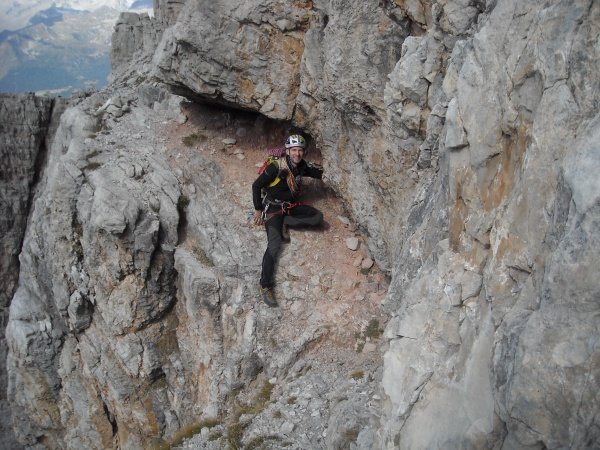
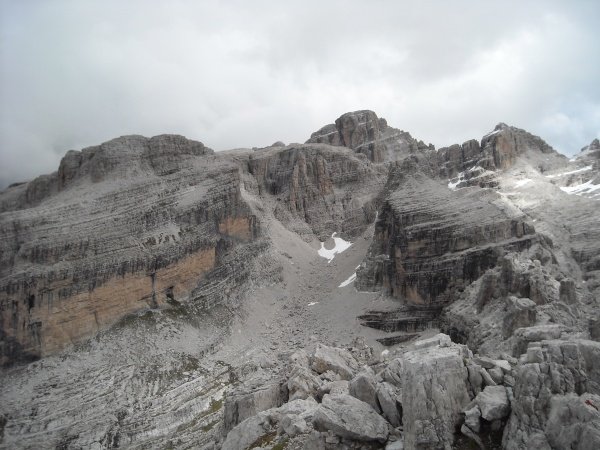
Stop
and base of the large chimney
Photo 5 of 20
© gb for trekking-etc.it
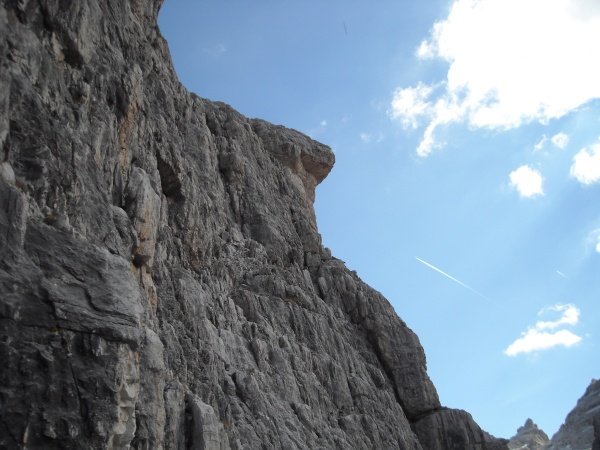
Refuge Tuckett
seen from the large chimney
Photo 6 of 20
© gb for trekking-etc.it
Schema
second part
Photo 7 of 20
© gb for trekking-etc.it
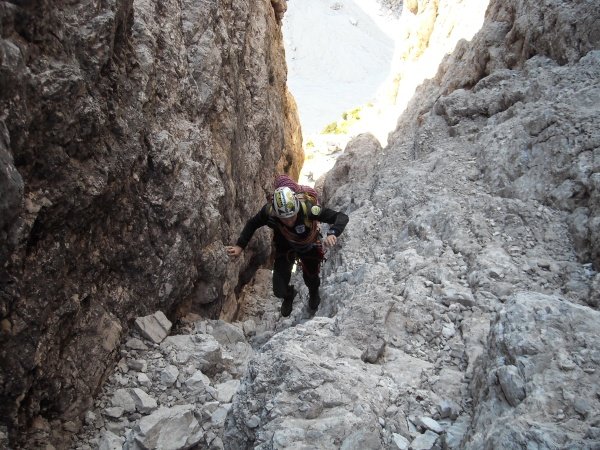
Climbing up
along the gully above the large chimney
Photo 8 of 20
© gb for trekking-etc.it
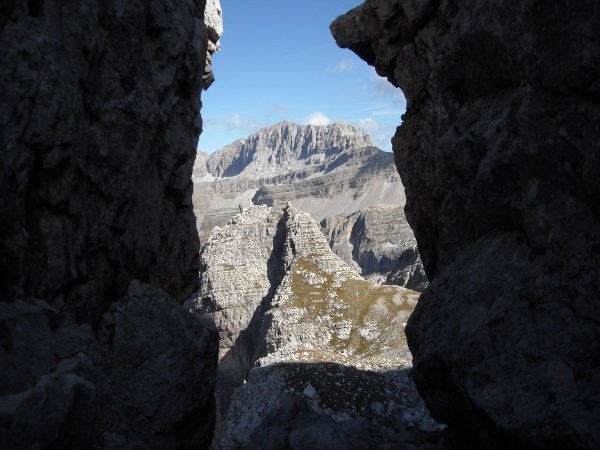
Clevis
with view on the Torrione di Vallesinella and Pietra Grande
Photo 9 of 20
© gb for trekking-etc.it
Castelletto Inferiore
viewed from the ledge, west shoulder
Photo 10 of 20
© gb for trekking-etc.it
Ledge
south face
Photo 11 of 20
© gb for trekking-etc.it
Passage along the ledge
Photo 12 of 20
© gb for trekking-etc.it
The nose
Photo 13 of 20
© gb for trekking-etc.it
Climbing up
towards the nose
Photo 14 of 20
© gb for trekking-etc.it
Summit ledge
Photo 15 of 20
© gb for trekking-etc.it

Refuge Tuckett
viewed from the summit
Photo 16 of 20
© gb for trekking-etc.it
Bocca di Tuckett
and Cima Sella
Photo 17 of 20
© gb for trekking-etc.it
View
towards Cima Falkner
Photo 18 of 20
© gb for trekking-etc.it
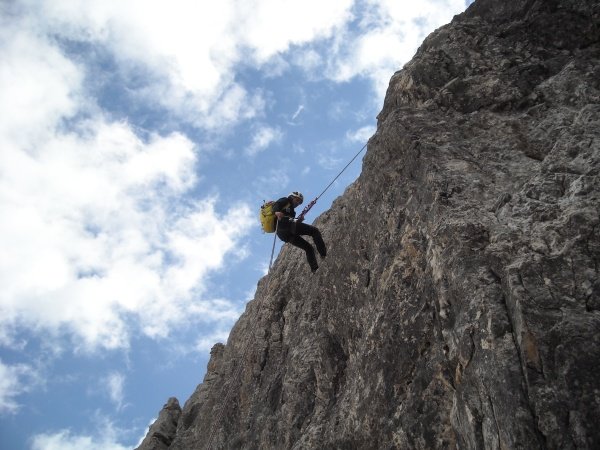
Double rope
Photo 19 of 20
© gb for trekking-etc.it
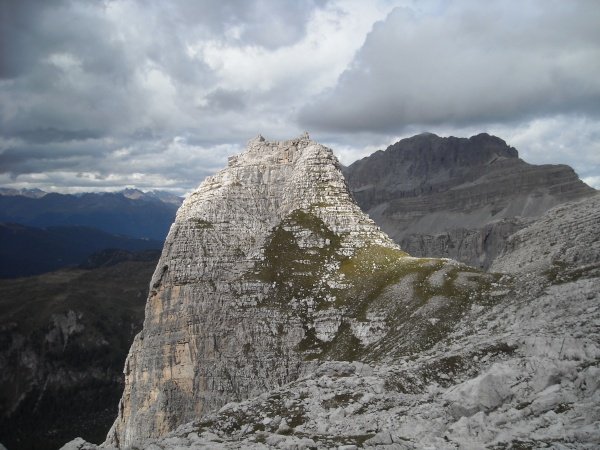
Torrione di Vallesinella
Photo 20 of 20
© gb for trekking-etc.it